Unlocking the Magic: A Guide to Drawing the Characters of The Nightmare Before Christmas
Related Articles: Unlocking the Magic: A Guide to Drawing the Characters of The Nightmare Before Christmas
Introduction
With great pleasure, we will explore the intriguing topic related to Unlocking the Magic: A Guide to Drawing the Characters of The Nightmare Before Christmas. Let’s weave interesting information and offer fresh perspectives to the readers.
Table of Content
Unlocking the Magic: A Guide to Drawing the Characters of The Nightmare Before Christmas

The Nightmare Before Christmas, a beloved stop-motion animated film by Tim Burton, has captivated audiences for its whimsical blend of Halloween and Christmas themes. Its iconic characters, from the charmingly sinister Jack Skellington to the quirky Sally, have become cultural touchstones. Drawing these characters is a fun and accessible way to engage with the film’s unique aesthetic and celebrate its enduring appeal.
This article provides a comprehensive guide to drawing the characters of The Nightmare Before Christmas, catering to both beginners and those seeking to refine their skills. We will explore various drawing techniques, offer step-by-step instructions, and provide insightful tips to enhance your creative journey.
Understanding the Art Style
The Nightmare Before Christmas is renowned for its distinctive art style, a blend of gothic horror and playful whimsy. Drawing these characters requires capturing this unique visual language. Key elements to consider include:
- Simplified Shapes: Characters are often rendered with simple, geometric forms. Jack Skellington’s skull-like head, for instance, is a basic oval, while Sally’s patchwork body is composed of various squares and rectangles.
- Exaggerated Features: Facial features are often exaggerated for comedic effect. Jack’s large, round eyes and prominent nose, along with Sally’s stitched-together mouth, contribute to their memorable personalities.
- Emphasis on Shadows and Contrast: The film’s use of black and white creates strong visual contrast, highlighting the characters’ features and adding depth to their forms.
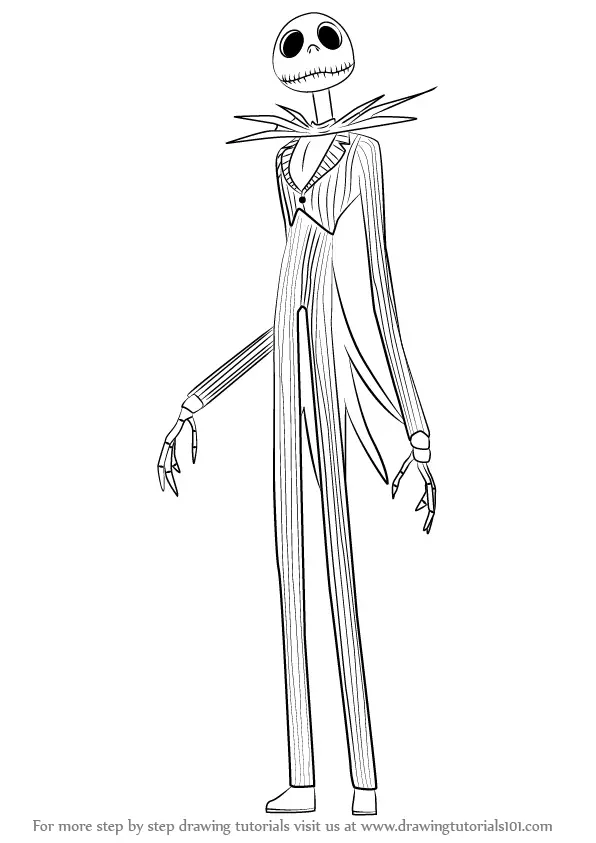
Drawing Jack Skellington
Jack Skellington, the Pumpkin King, is a popular choice for aspiring artists. His iconic skeletal form provides a solid foundation for learning basic drawing techniques.
Step-by-Step Guide:
- Start with a Circle: Draw a large circle for Jack’s head. This circle will serve as the foundation for his skull shape.
- Add the Jawline: Draw a slightly curved line below the circle to create Jack’s jawline. The line should be slightly wider than the circle at the bottom.
- Outline the Skull: Using the circle and jawline as guides, draw the outline of Jack’s skull. Remember to make the top of the skull slightly pointed and the sides slightly rounded.
- Draw the Eyes: Jack’s eyes are large and round. Place them on either side of the skull, ensuring they are centered and spaced apart. Add small circles within the larger circles to represent his pupils.
- Add the Nose: Jack’s nose is a prominent, slightly bulbous shape. Draw it below the eyes, slightly off-center to the left.
- Add the Mouth: Jack’s mouth is a simple, curved line. Draw it below the nose, giving it a slight upward curve at the corners.
- Add the Body: Draw a simple, elongated rectangle for Jack’s body. Add a slight curve to the bottom of the rectangle to suggest his legs.
- Draw the Arms: Jack’s arms are thin and bony. Draw two long, curved lines extending from his body to represent his arms.
- Add the Hands: Draw simple, claw-like hands at the ends of Jack’s arms.
- Refine and Detail: Use shading and details to enhance Jack’s appearance. Add subtle shadows under his jawline and around his eyes. You can also add wrinkles to his skull and detail his bony fingers.
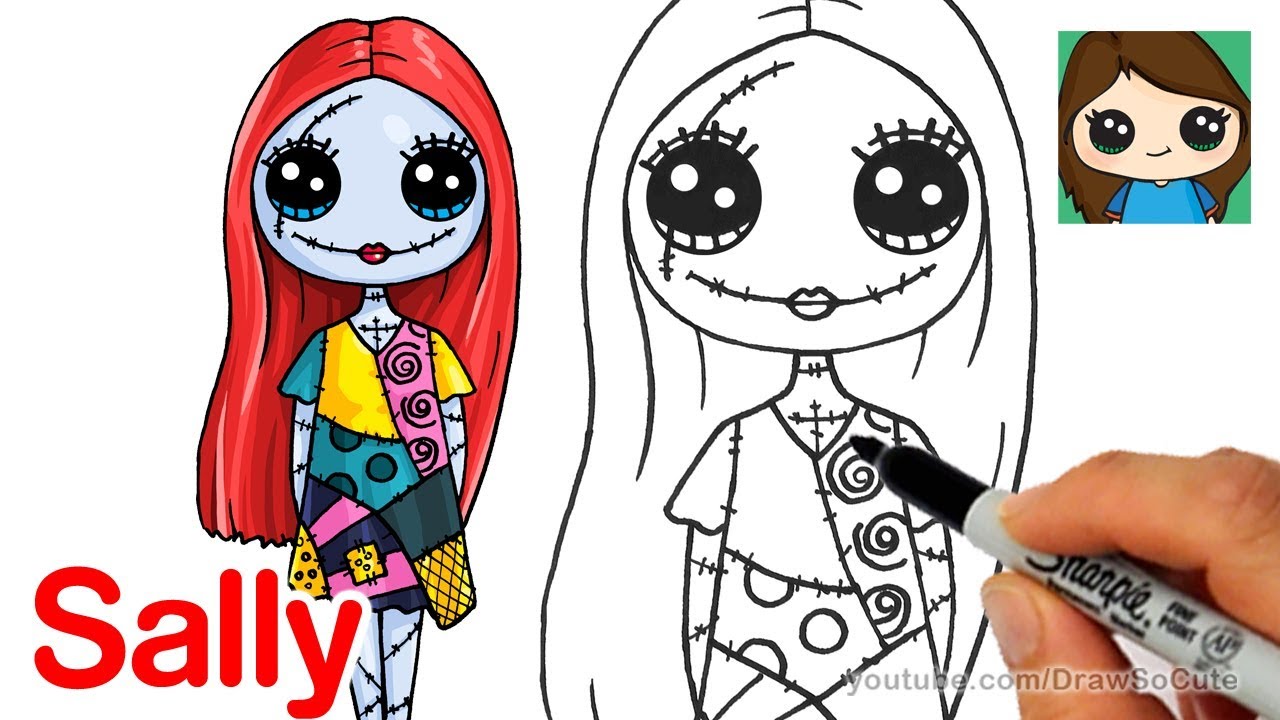
Drawing Sally
Sally, the ragdoll, presents a unique challenge due to her patchwork design. However, breaking her down into individual shapes simplifies the process.
Step-by-Step Guide:
- Start with a Circle: Draw a large circle for Sally’s head. This circle will serve as the foundation for her face.
- Add the Eyes: Sally’s eyes are large and oval-shaped. Place them on either side of the circle, ensuring they are centered and spaced apart. Add small circles within the larger circles to represent her pupils.
- Add the Nose: Sally’s nose is a small, triangular shape. Draw it below the eyes, slightly off-center to the left.
- Add the Mouth: Sally’s mouth is a stitched-together line. Draw it below the nose, giving it a slight downward curve at the corners.
- Add the Body: Draw a series of connected squares and rectangles to represent Sally’s patchwork body. Use different sizes and shapes to create a visually interesting design.
- Add the Arms: Sally’s arms are thin and ragdoll-like. Draw two long, curved lines extending from her body to represent her arms.
- Add the Hands: Draw simple, mitten-like hands at the ends of Sally’s arms.
- Add the Legs: Sally’s legs are also patchwork. Draw a series of connected squares and rectangles to represent her legs.
- Add the Feet: Draw simple, shoe-like shapes at the ends of Sally’s legs.
- Refine and Detail: Use shading and details to enhance Sally’s appearance. Add stitching lines to her patchwork body and use darker shades to create shadows around her limbs.
Beyond the Basics: Adding Depth and Expression
While the step-by-step guides provide a framework for drawing Jack and Sally, there are additional techniques to enhance your drawings and bring them to life.
- Shading and Lighting: Use shading to create depth and form in your drawings. Experiment with different shading techniques, such as hatching, cross-hatching, and stippling, to achieve the desired effect. Consider the direction of light in the scene to create realistic shadows.
- Expression and Emotion: Pay attention to the characters’ facial expressions and body language. Slight changes in the angle of their eyebrows, the shape of their mouths, or the position of their arms can convey a wide range of emotions.
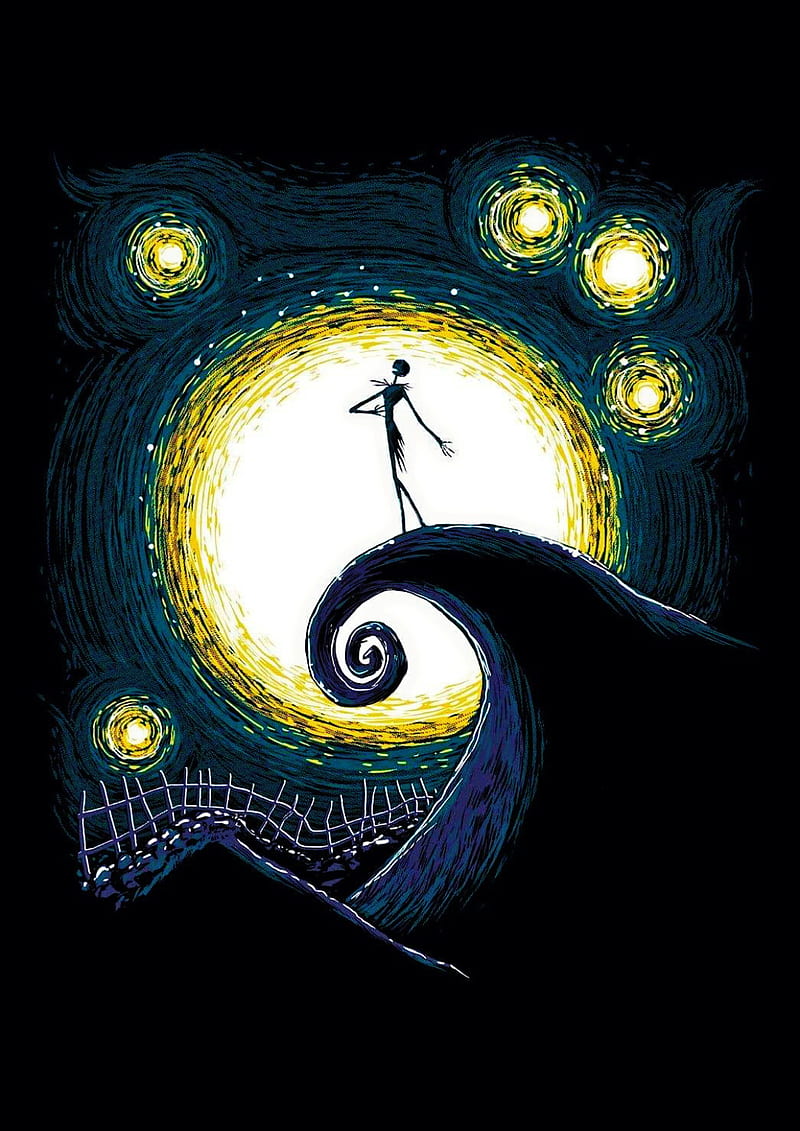
- Adding Backgrounds: Include a background to add context and enhance the overall composition of your drawing. Consider the setting of the film, such as Halloween Town or Christmas Town, to create a cohesive visual narrative.
FAQs: Addressing Common Questions
Q: What materials do I need to draw The Nightmare Before Christmas characters?
A: You can use a variety of materials, including pencils, pens, markers, and even digital tools. Start with basic drawing pencils (HB, 2B, 4B) and a good eraser. Experiment with different mediums to find what works best for you.
Q: I’m a beginner. How can I improve my drawing skills?
A: Practice is key! Start with simple shapes and gradually work your way up to more complex drawings. Observe the characters in the film and study their proportions and details. Don’t be afraid to make mistakes; they are part of the learning process.
Q: What are some tips for drawing the characters’ expressions?
A: Focus on the eyes, mouth, and eyebrows. Slight changes in the angle of these features can convey a wide range of emotions. For example, widening the eyes can convey surprise, while narrowing them can convey anger.
Q: How can I add more detail to my drawings?
A: Use shading and highlights to create depth and form. Add texture to the characters’ costumes and backgrounds. Consider incorporating small details, such as Jack’s pinstripe suit or Sally’s stitched-together seams.
Tips for Success:
- Observe and Study: Pay close attention to the characters in the film. Study their proportions, facial features, and costumes. Take note of the unique details that make them memorable.
- Start Simple: Begin with basic shapes and gradually add details. Don’t try to draw everything perfectly on the first try. Focus on getting the overall form and proportions right.
- Practice Regularly: Drawing is a skill that improves with practice. Set aside time each day to sketch and experiment. The more you draw, the better you will become.
- Don’t Be Afraid to Experiment: Try different drawing techniques and mediums. Explore different styles and find what works best for you. Have fun with the process!
Conclusion
Drawing the characters of The Nightmare Before Christmas is a rewarding and enjoyable experience. By understanding the film’s unique art style, practicing basic drawing techniques, and incorporating creative details, you can create captivating representations of these beloved characters. Remember, the journey is just as important as the destination. Embrace the process, have fun, and let your imagination soar!


Closure
Thus, we hope this article has provided valuable insights into Unlocking the Magic: A Guide to Drawing the Characters of The Nightmare Before Christmas. We hope you find this article informative and beneficial. See you in our next article!