A Guide to Drawing the Festive Symbol: A Comprehensive Look at Depicting the Christmas Tree
Related Articles: A Guide to Drawing the Festive Symbol: A Comprehensive Look at Depicting the Christmas Tree
Introduction
With great pleasure, we will explore the intriguing topic related to A Guide to Drawing the Festive Symbol: A Comprehensive Look at Depicting the Christmas Tree. Let’s weave interesting information and offer fresh perspectives to the readers.
Table of Content
A Guide to Drawing the Festive Symbol: A Comprehensive Look at Depicting the Christmas Tree

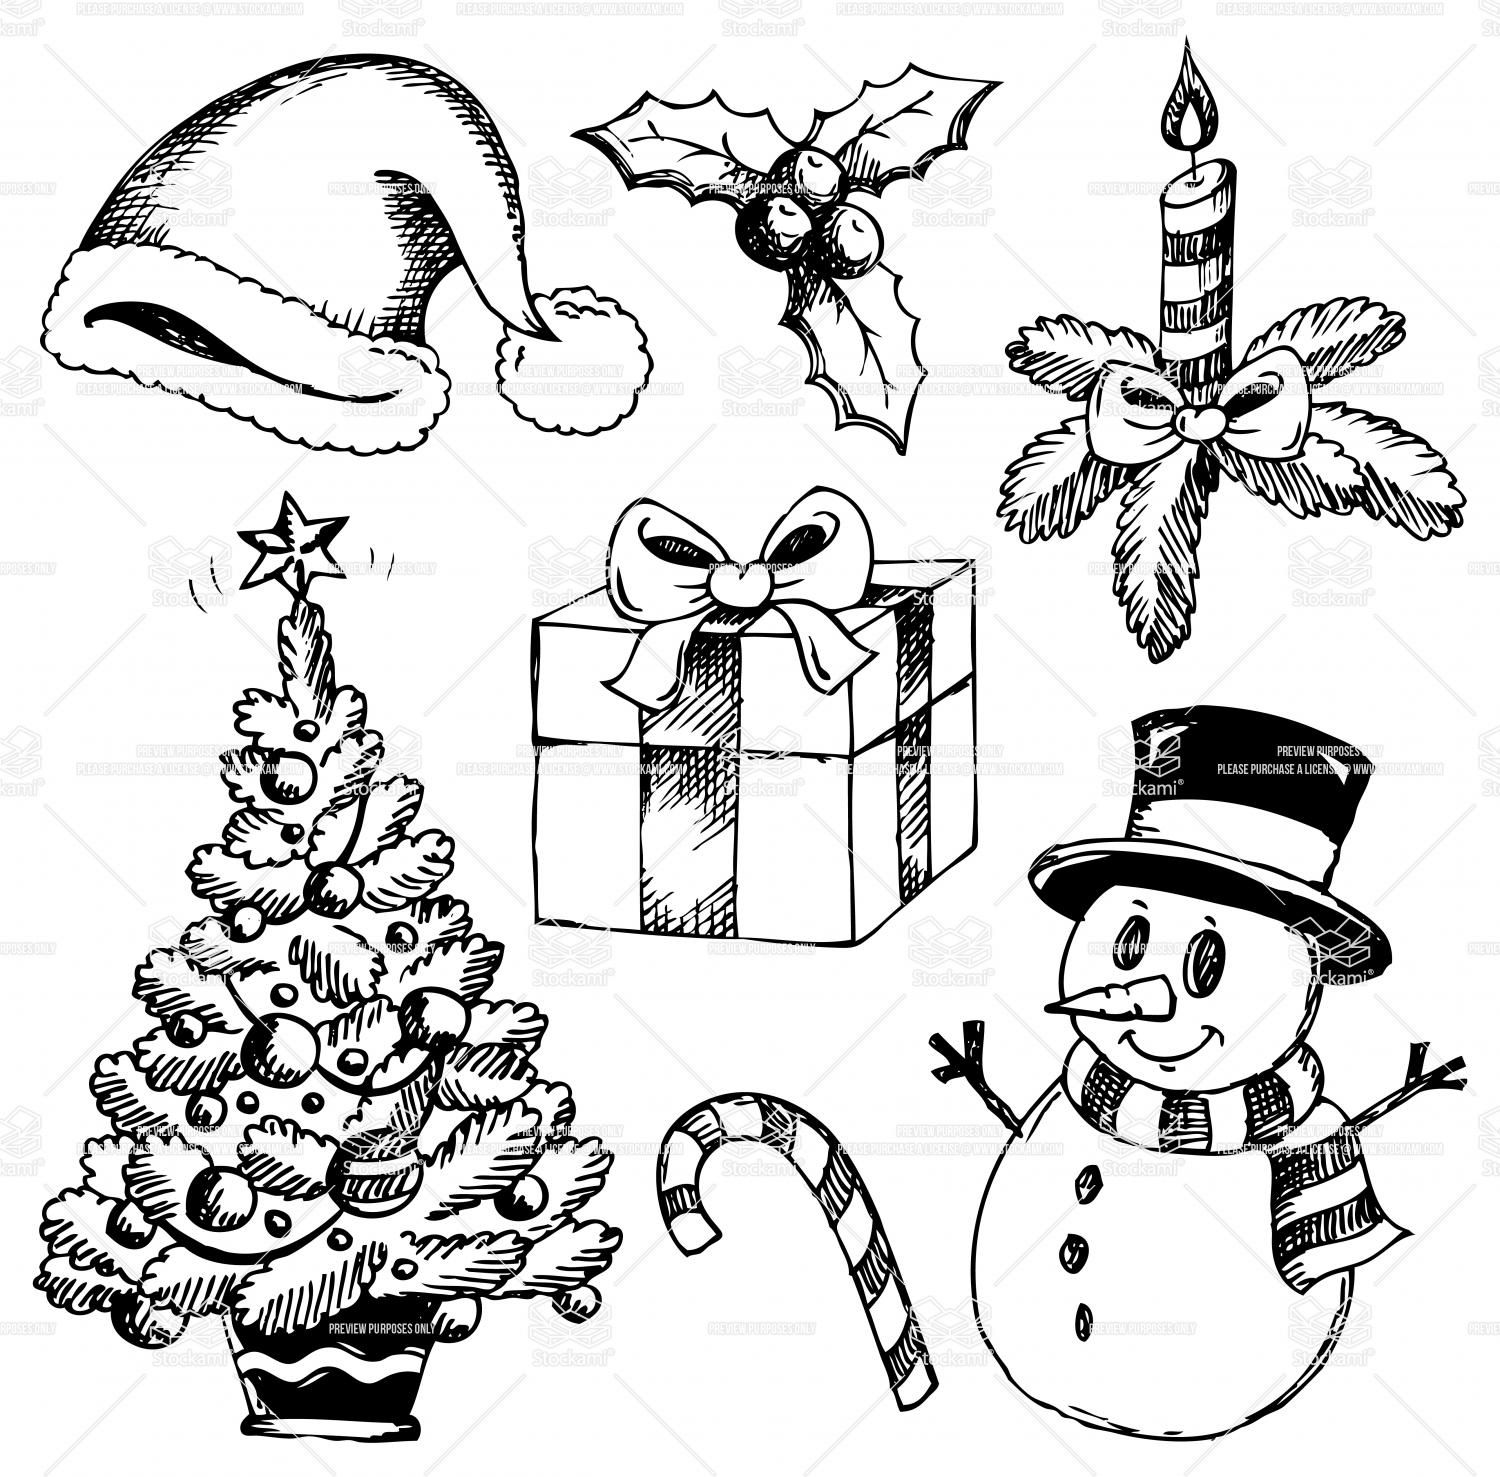
The Christmas tree, a perennial symbol of the holiday season, evokes feelings of joy, warmth, and togetherness. Its distinctive silhouette, adorned with twinkling lights and vibrant ornaments, holds a special place in our collective imagination. Capturing this festive icon on paper can be a rewarding experience, fostering creativity and providing a tangible representation of the holiday spirit. This article delves into the art of drawing a Christmas tree, offering a comprehensive guide to help individuals of all skill levels create their own interpretations of this beloved symbol.
Fundamentals of Form and Shape
The foundation of any successful drawing lies in understanding the fundamental forms and shapes that compose the subject. The Christmas tree, at its core, is a triangular structure. This basic geometric shape provides a starting point for constructing the tree’s outline.
Step-by-Step Approach to Drawing a Christmas Tree
-
The Triangular Base: Begin by sketching a light, triangular shape. This serves as the foundation for the tree’s structure. The width of the triangle will determine the overall width of the tree, while the height will dictate its overall height.
-
Defining the Branches: To add dimension and realism, sketch a series of curved lines that extend outward from the central trunk, representing the branches. These lines should gradually decrease in length as they reach the top of the tree, creating a tapering effect.
-
Adding Depth and Texture: To enhance the tree’s visual appeal, consider adding details to the branches. This can involve drawing individual needles or clumps of foliage, depending on the desired level of realism. For a more stylized look, simplified lines or dots can be used to represent the branches’ texture.
-
The Trunk: Draw a vertical line down the center of the triangle, representing the tree’s trunk. The trunk should be thicker at the base and taper slightly towards the top.
-
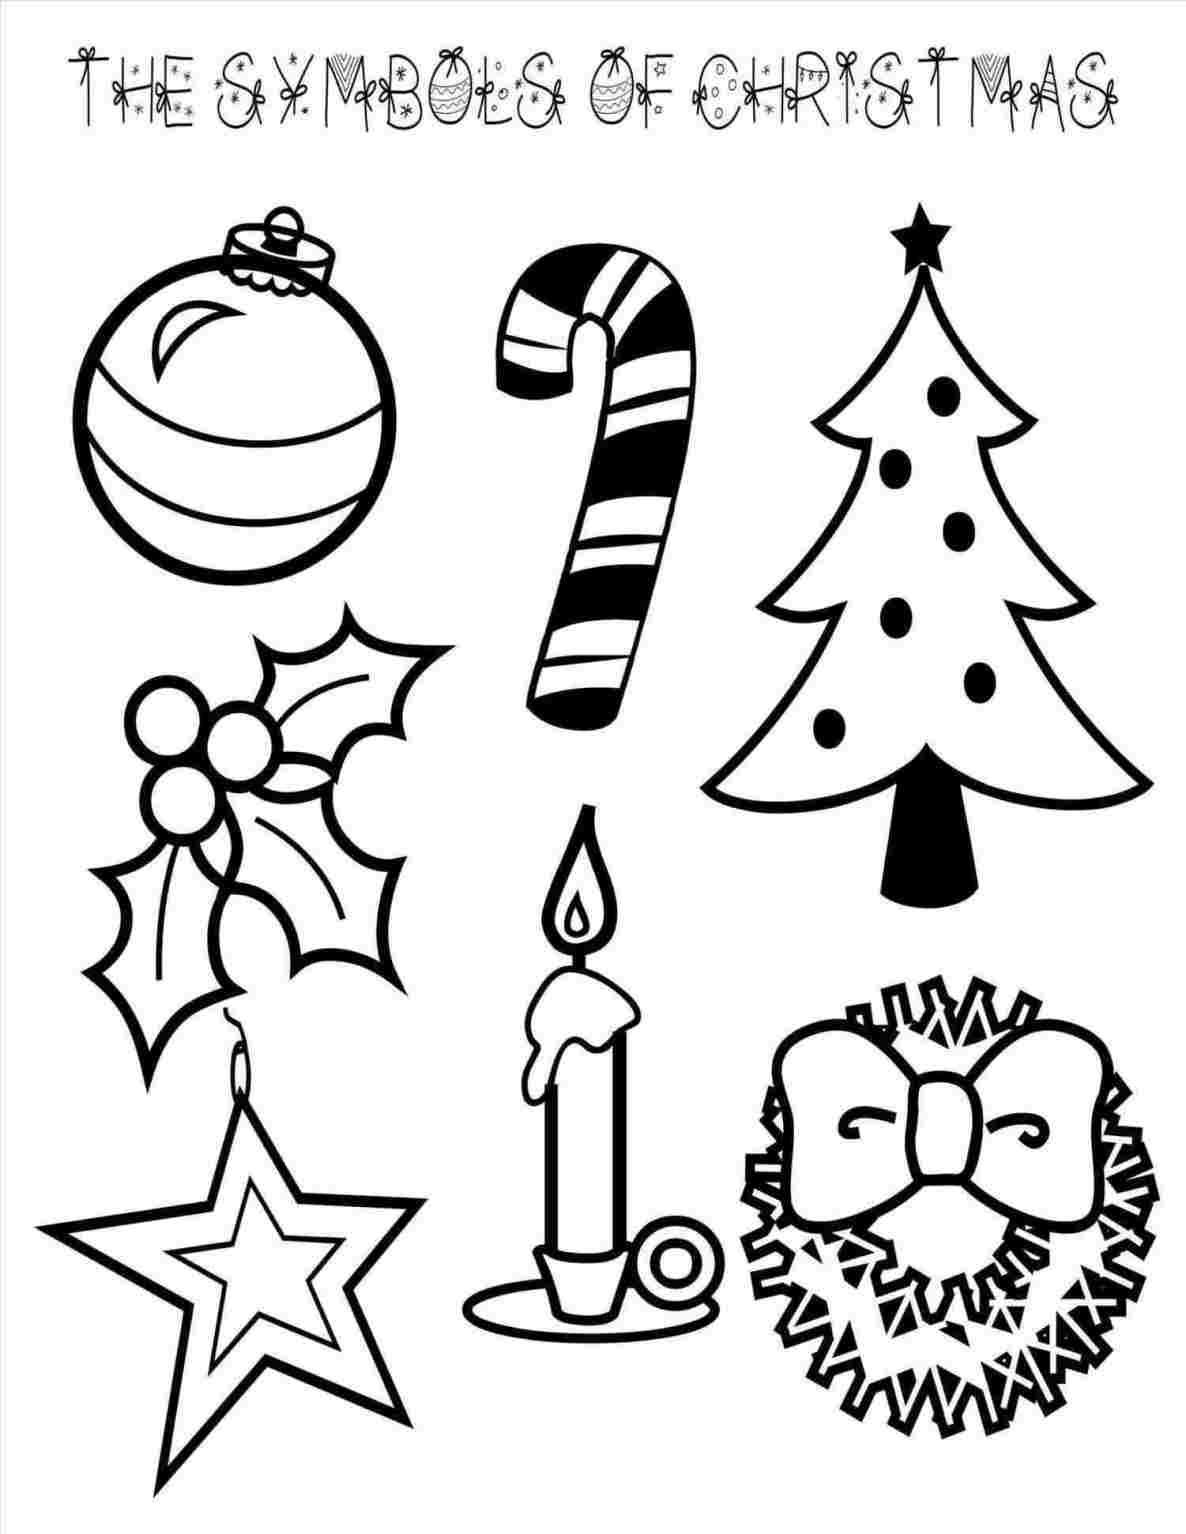
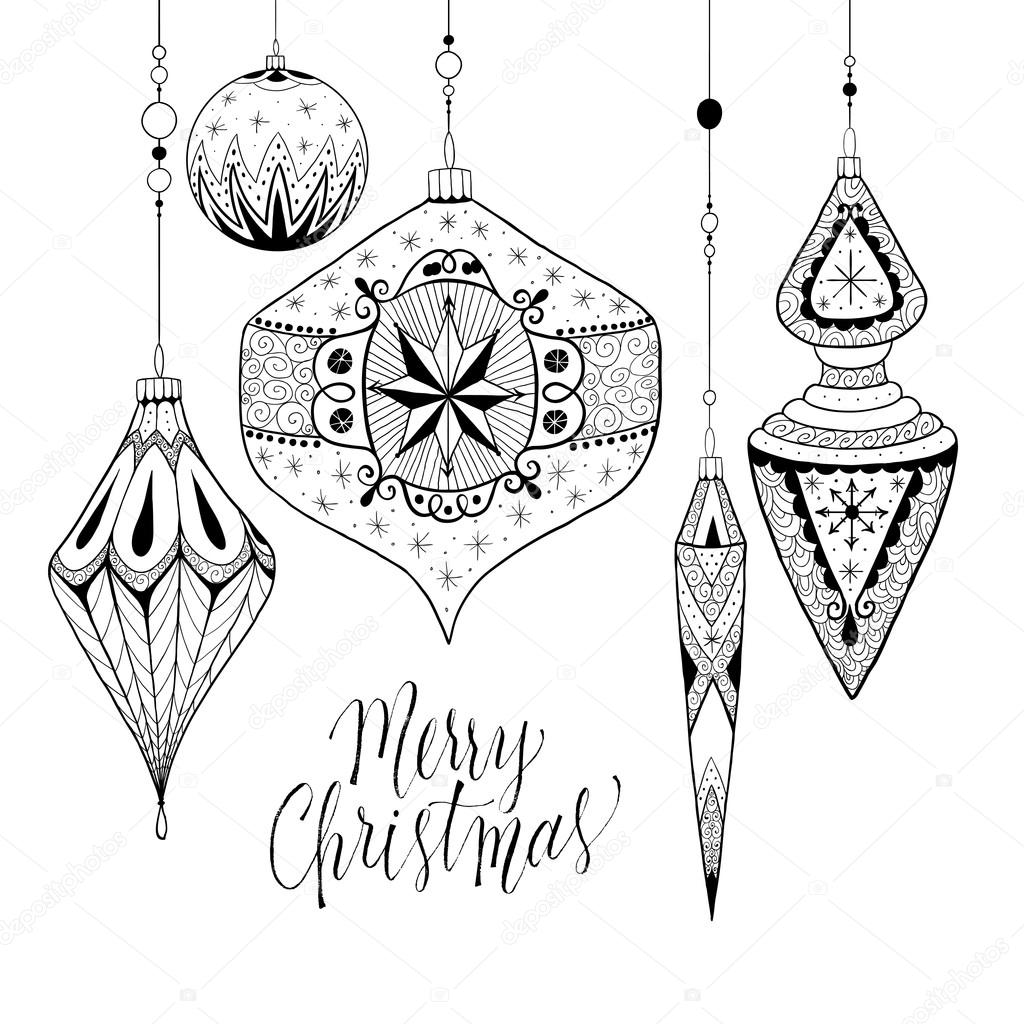
Adding Ornaments: The Christmas tree’s signature adornments are the ornaments. These can be depicted in various shapes and sizes, using simple geometric forms like circles, stars, or even abstract shapes.
-
The Star: The iconic star that tops the Christmas tree is a simple yet effective detail. Draw a small, five-pointed star at the apex of the tree.
-
Lights: The twinkling lights that adorn the tree add a touch of magic and festivity. These can be represented by small dots or circles placed strategically along the branches.
Beyond the Basics: Exploring Stylistic Variations
While the basic approach provides a solid foundation, there are numerous ways to personalize and enhance your Christmas tree drawing.
-
Realistic Renderings: For those seeking a more realistic approach, focusing on detailed textures and intricate branch structures can elevate the drawing. Techniques like cross-hatching or stippling can be used to create the illusion of depth and volume.
-
Stylized Interpretations: Embrace artistic freedom by exploring stylized interpretations of the Christmas tree. Abstract shapes, geometric patterns, and bold lines can create unique and visually striking representations.
-
Adding Context: Expand the drawing beyond the tree itself by incorporating elements that create a sense of context. This could include a fireplace, presents, or even a snowy landscape.
Tips for Enhancing Your Christmas Tree Drawing
-
Reference Images: Referencing photographs or real-life Christmas trees can provide valuable inspiration and guidance for capturing accurate details and proportions.
-
Experiment with Materials: Explore different drawing tools, such as pencils, charcoal, or even colored pens, to discover the materials that best suit your style and preferences.
-
Practice Makes Perfect: Regular practice is key to improving your drawing skills. Dedicate time to sketching different types of Christmas trees and experimenting with various techniques.
Frequently Asked Questions
Q: What are the best tools for drawing a Christmas tree?
A: While pencils are a common choice for beginners, other tools like charcoal, colored pencils, or even markers can be used effectively. The best tools depend on the desired style and level of detail.
Q: How can I make my Christmas tree drawing look more realistic?
A: Focus on capturing the texture of the branches and needles, using techniques like cross-hatching or stippling to create depth and volume. Observing real Christmas trees for inspiration can also be beneficial.
Q: What are some creative ways to depict the Christmas tree?
A: Experiment with different perspectives, angles, and compositions. Try drawing the tree from a low angle, highlighting its height, or incorporating it into a larger scene.
Conclusion
Drawing a Christmas tree is a rewarding experience that combines artistic expression with the joy of the holiday season. By understanding the fundamental forms and shapes, experimenting with different techniques, and embracing creativity, individuals can create unique and personalized representations of this beloved symbol. Whether a simple sketch or a detailed masterpiece, the act of drawing a Christmas tree offers a tangible expression of the festive spirit and serves as a lasting reminder of the joy and warmth associated with the holidays.


Closure
Thus, we hope this article has provided valuable insights into A Guide to Drawing the Festive Symbol: A Comprehensive Look at Depicting the Christmas Tree. We appreciate your attention to our article. See you in our next article!